Quick Start Guide
This guide walks you through every step to go from a new account to a running GPU pod — covering sign-up, adding credits, updating your profile, launching your first deployment, and managing its lifecycle. Follow the steps in order for the smoothest onboarding experience.
Create Your Account
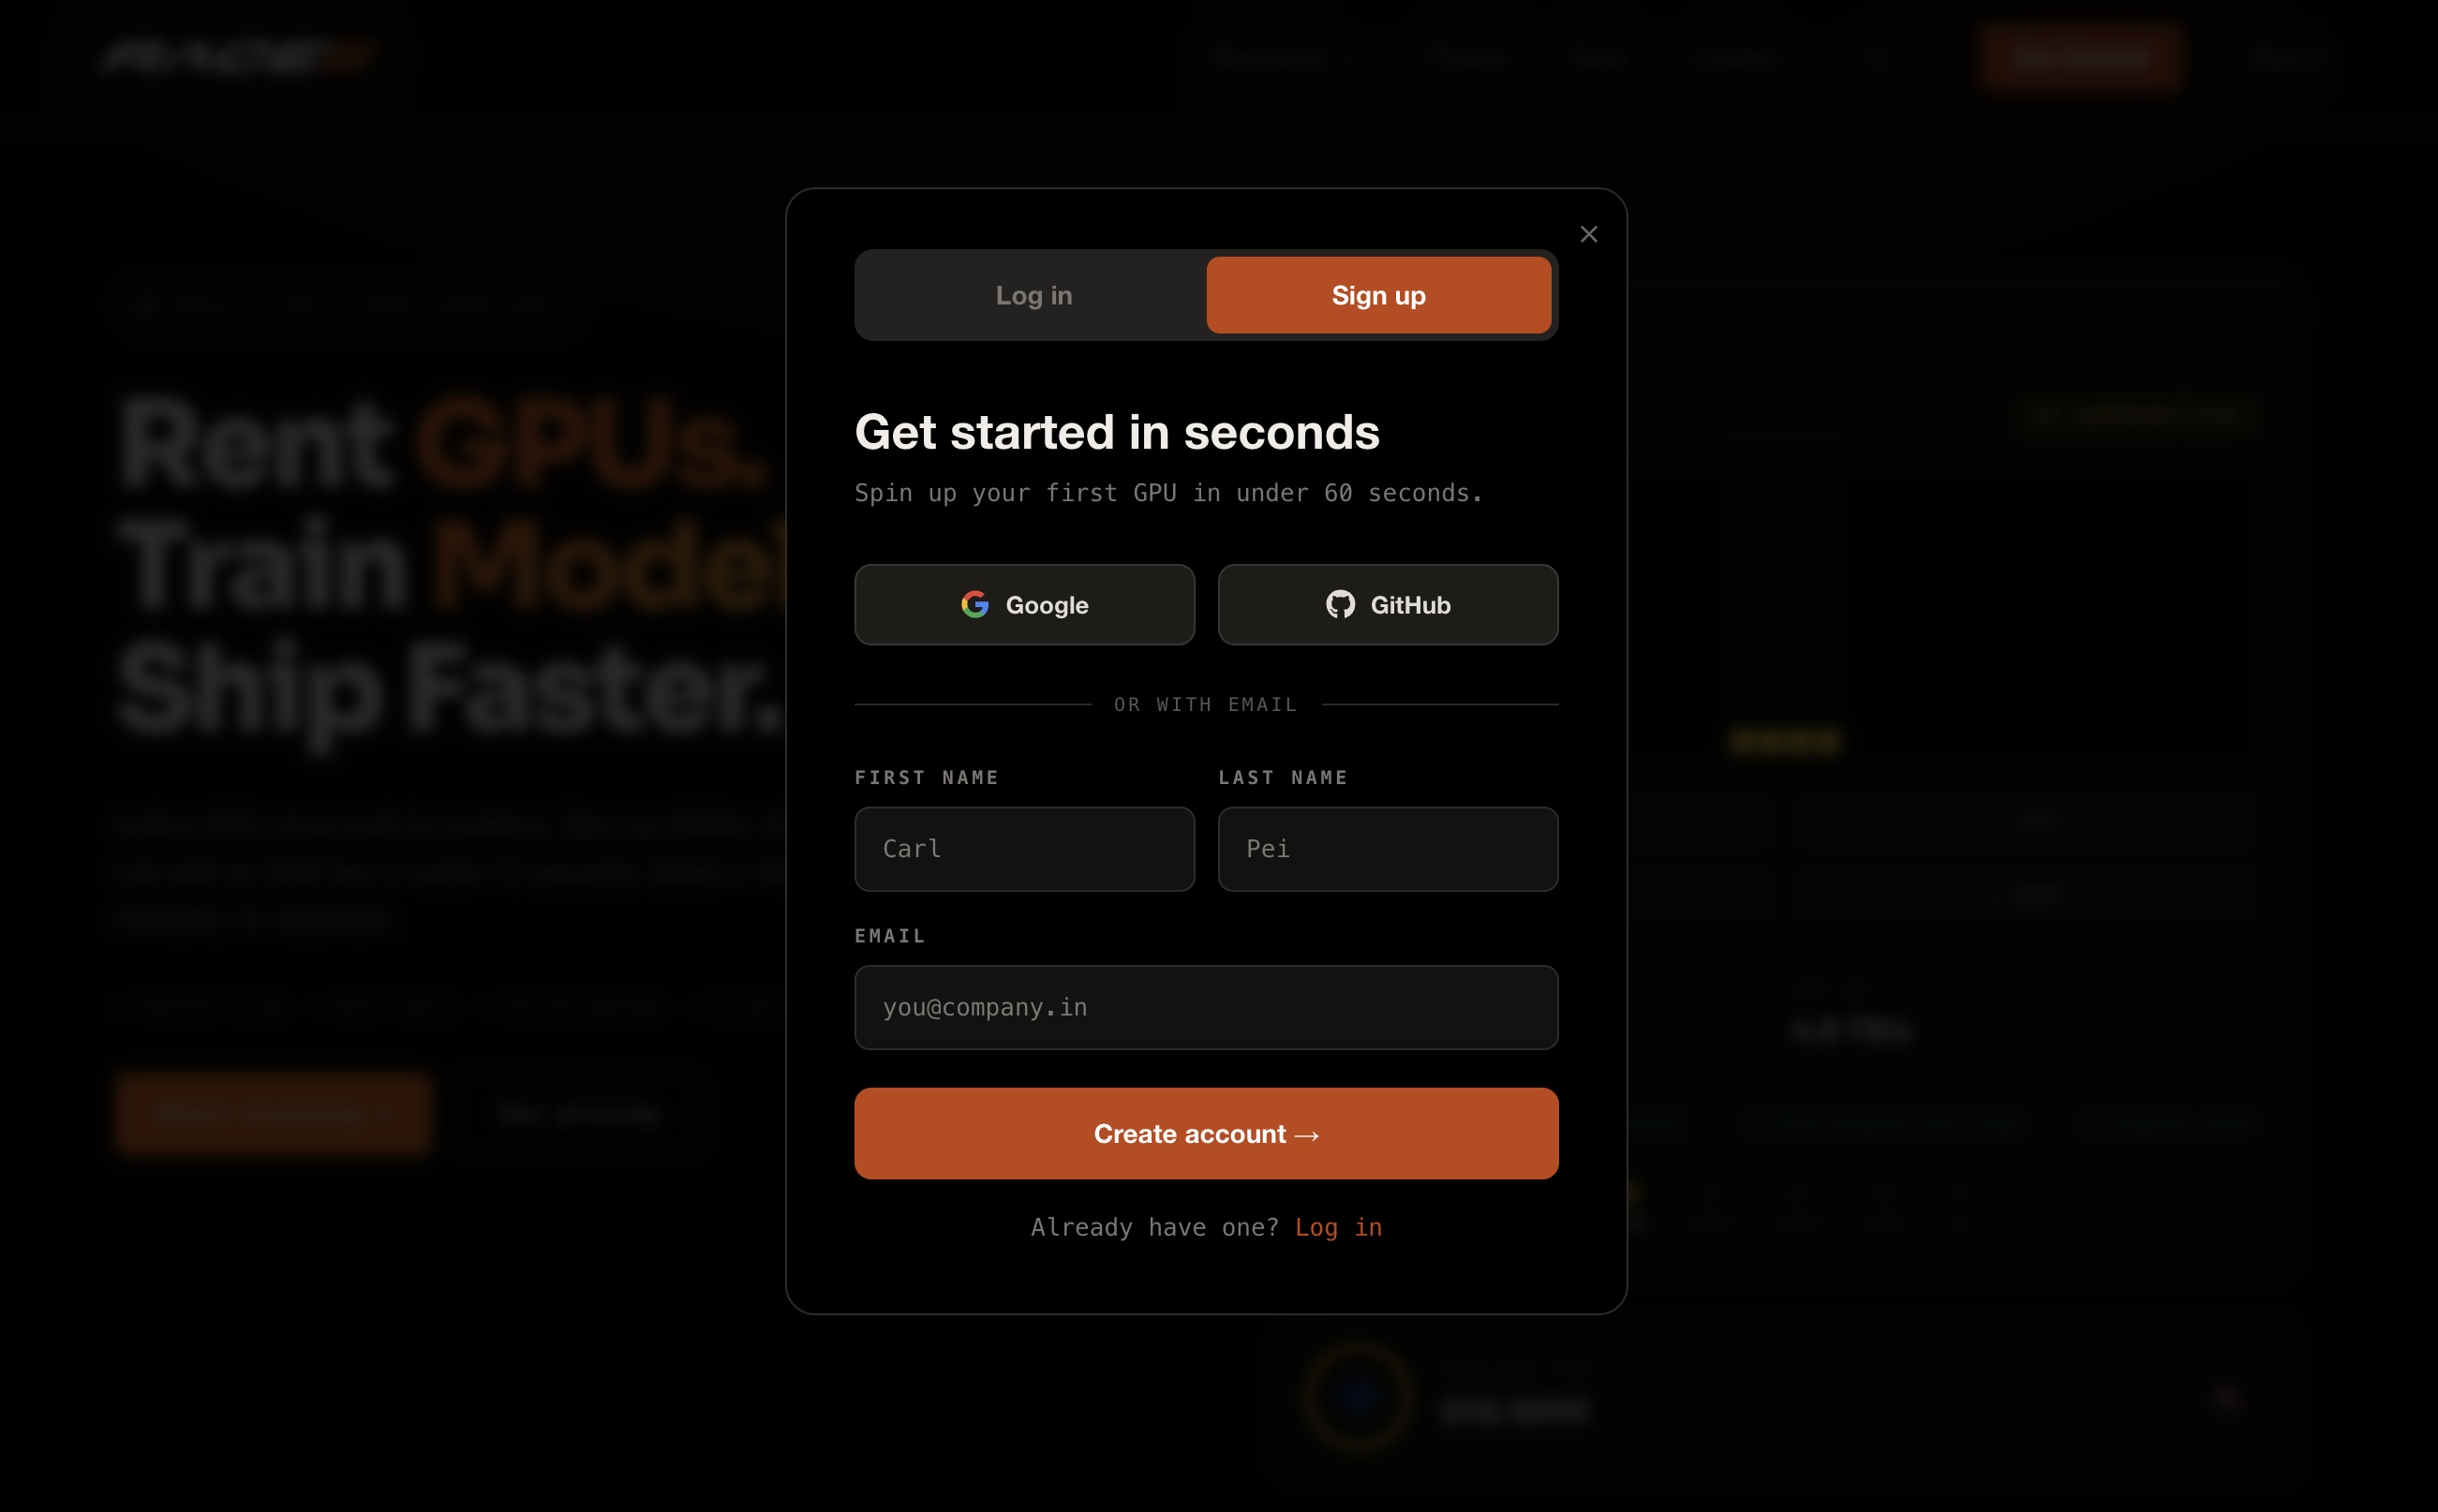
Visit raceengineering.ai and click Sign Up in the top navigation. Fill in your full name, work email, and a secure password. Verify your email address via the confirmation link sent to your inbox before proceeding.
- Use a work email — required for enterprise billing and invoices
- Password must be at least 8 characters
- Check your spam folder if the verification email doesn't arrive
Log In to Your Dashboard
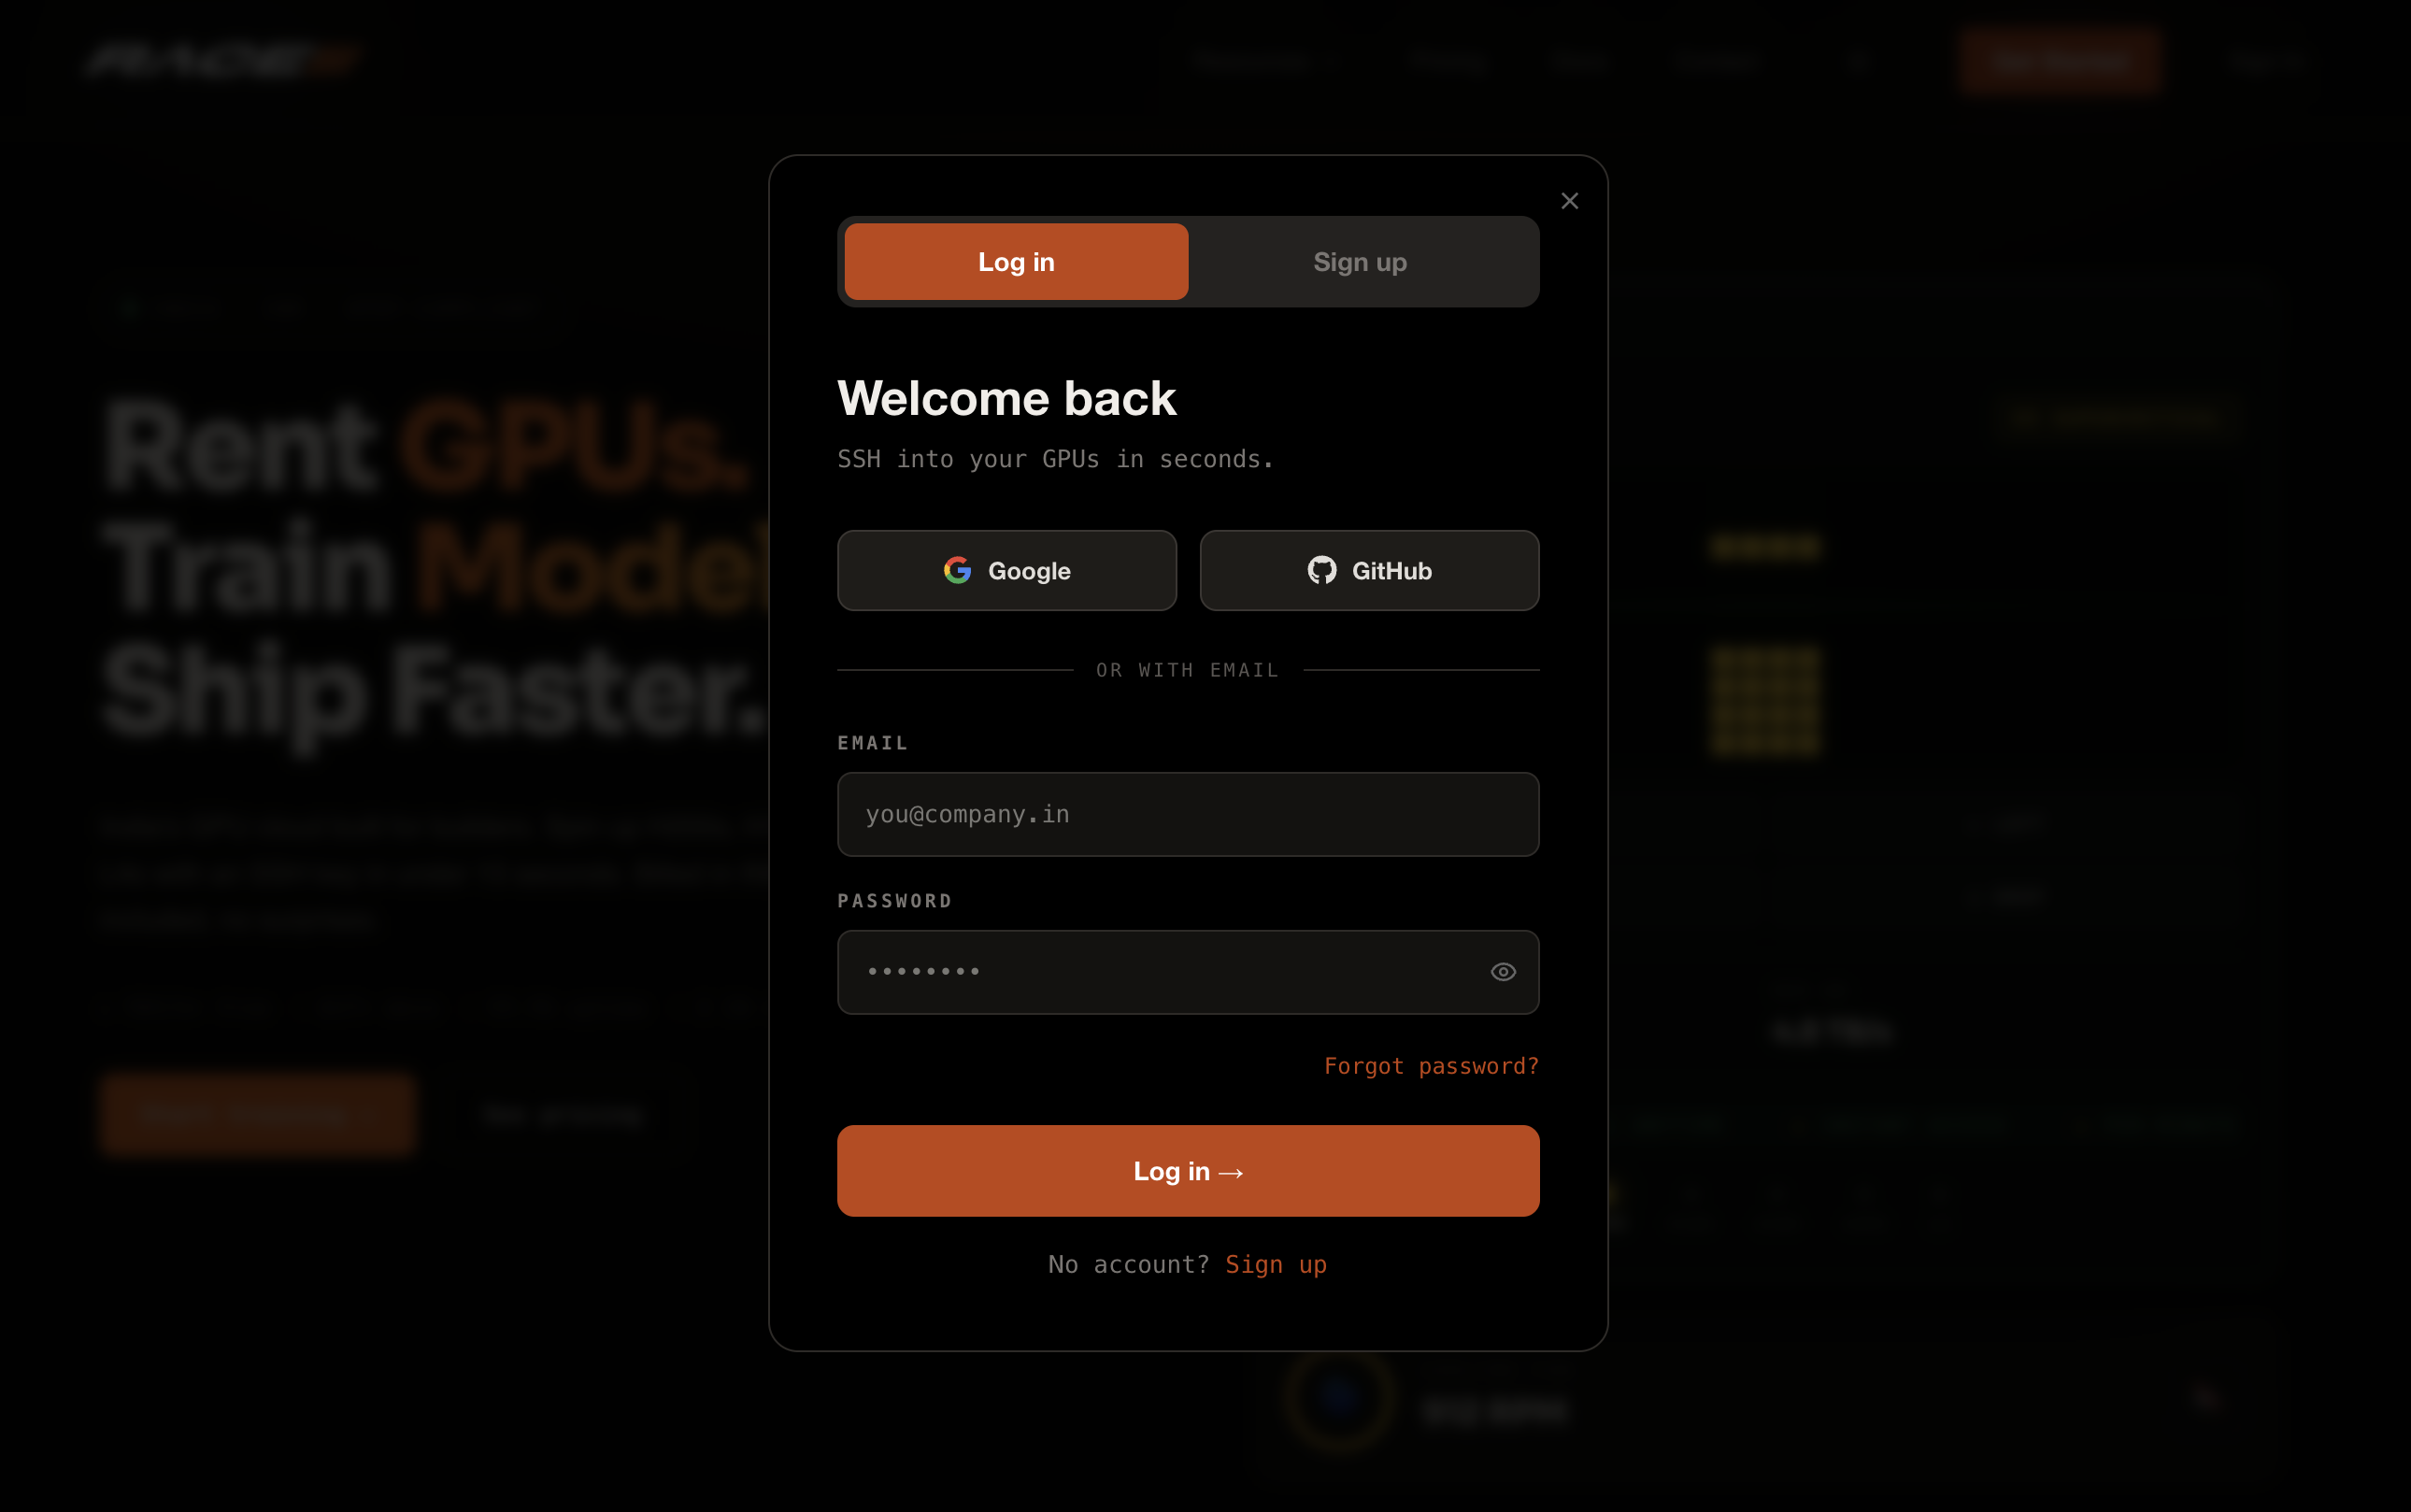
After verifying your email, go to raceengineering.ai and click Log In. Enter your email and password. You'll land on the main dashboard showing your GPU fleet overview, wallet balance, and recent activity.
Add Credits to Your Wallet
GPU time is billed from your prepaid wallet. Go to Settings → Billing and click + Top Up. Choose a preset amount (₹1,000 / ₹2,000 / ₹5,000 / ₹10,000) or enter a custom value. Complete payment via UPI, credit/debit card, or net banking through Razorpay. Credits appear in your wallet within seconds.
- Minimum top-up is ₹500
- Credits never expire
- Auto-recharge can be enabled to top up automatically when balance drops below a threshold
- GST invoice is generated for every transaction

Update Your Profile & Add SSH Key
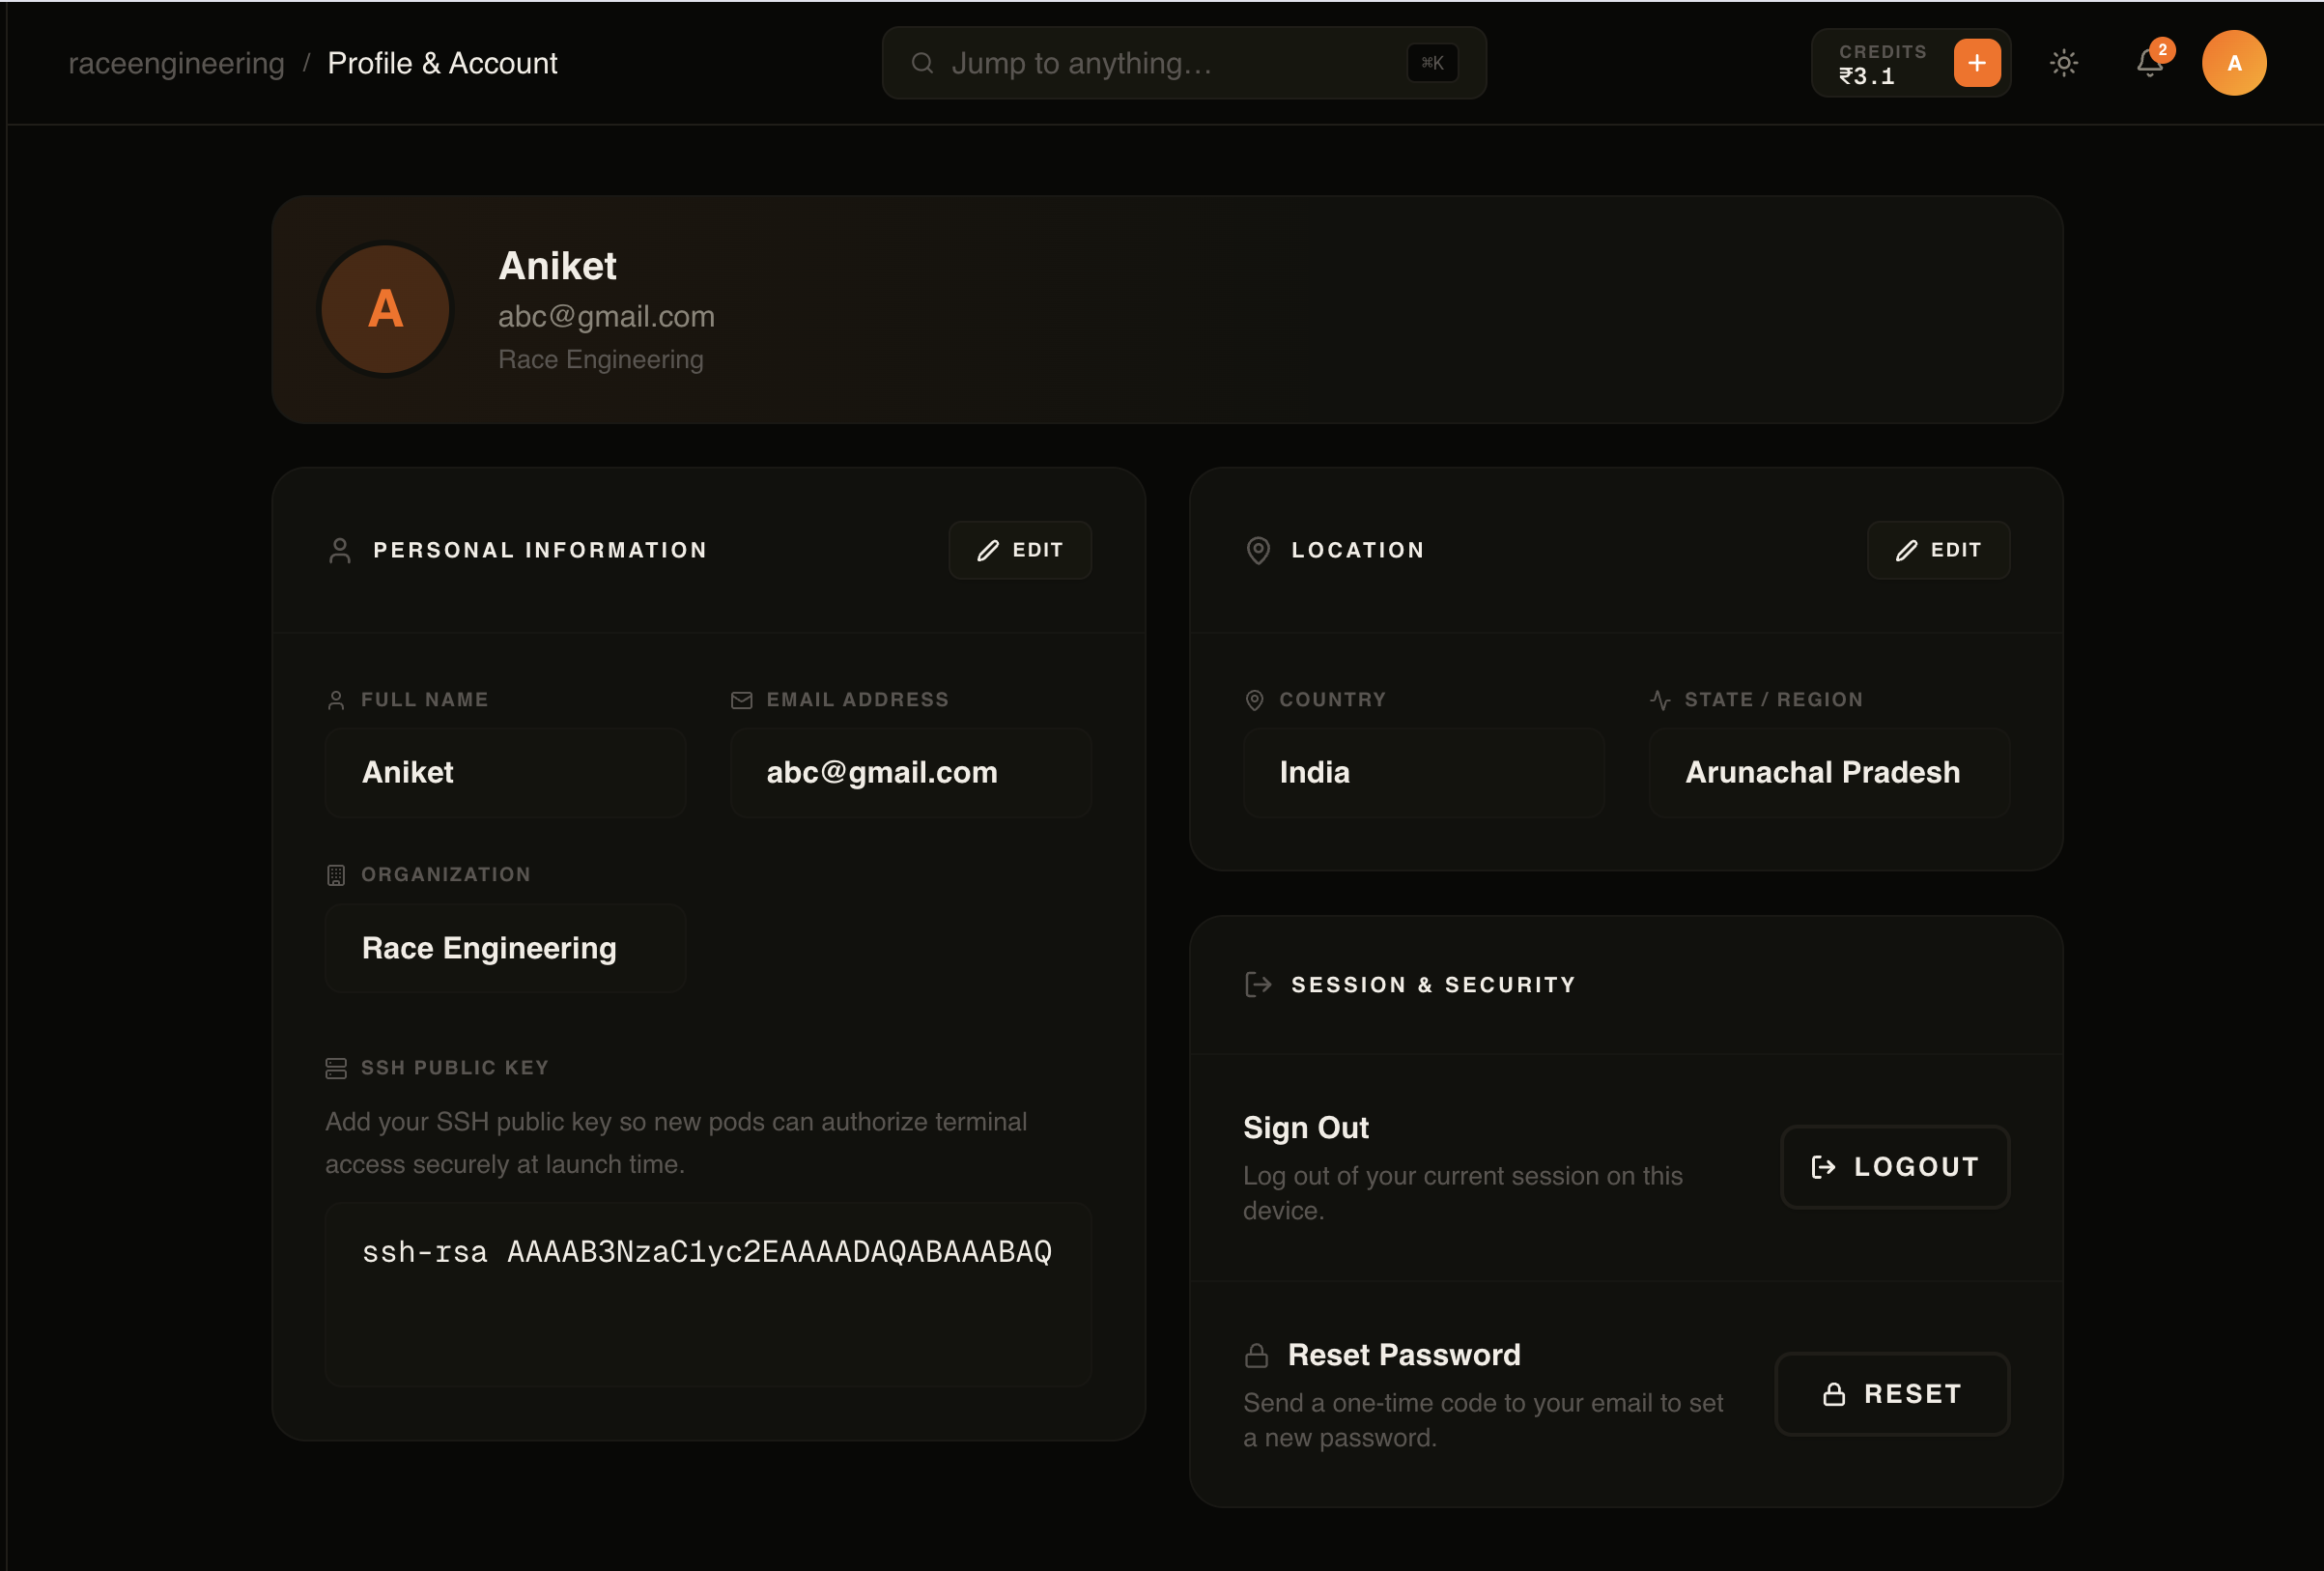
Go to Profile & Account from the sidebar. Click Edit on the Personal Information card to update your name and organisation. If you plan to use SSH terminal access, paste your SSH public key into the SSH Public Key field and save.
- Generate a key pair: ssh-keygen -t ed25519 -C "your@email.com"
- Copy the public key: cat ~/.ssh/id_ed25519.pub
- Paste it into the SSH Public Key field and click Save
- The key is injected automatically into every new pod you launch
Launch a GPU Pod (Deploy)
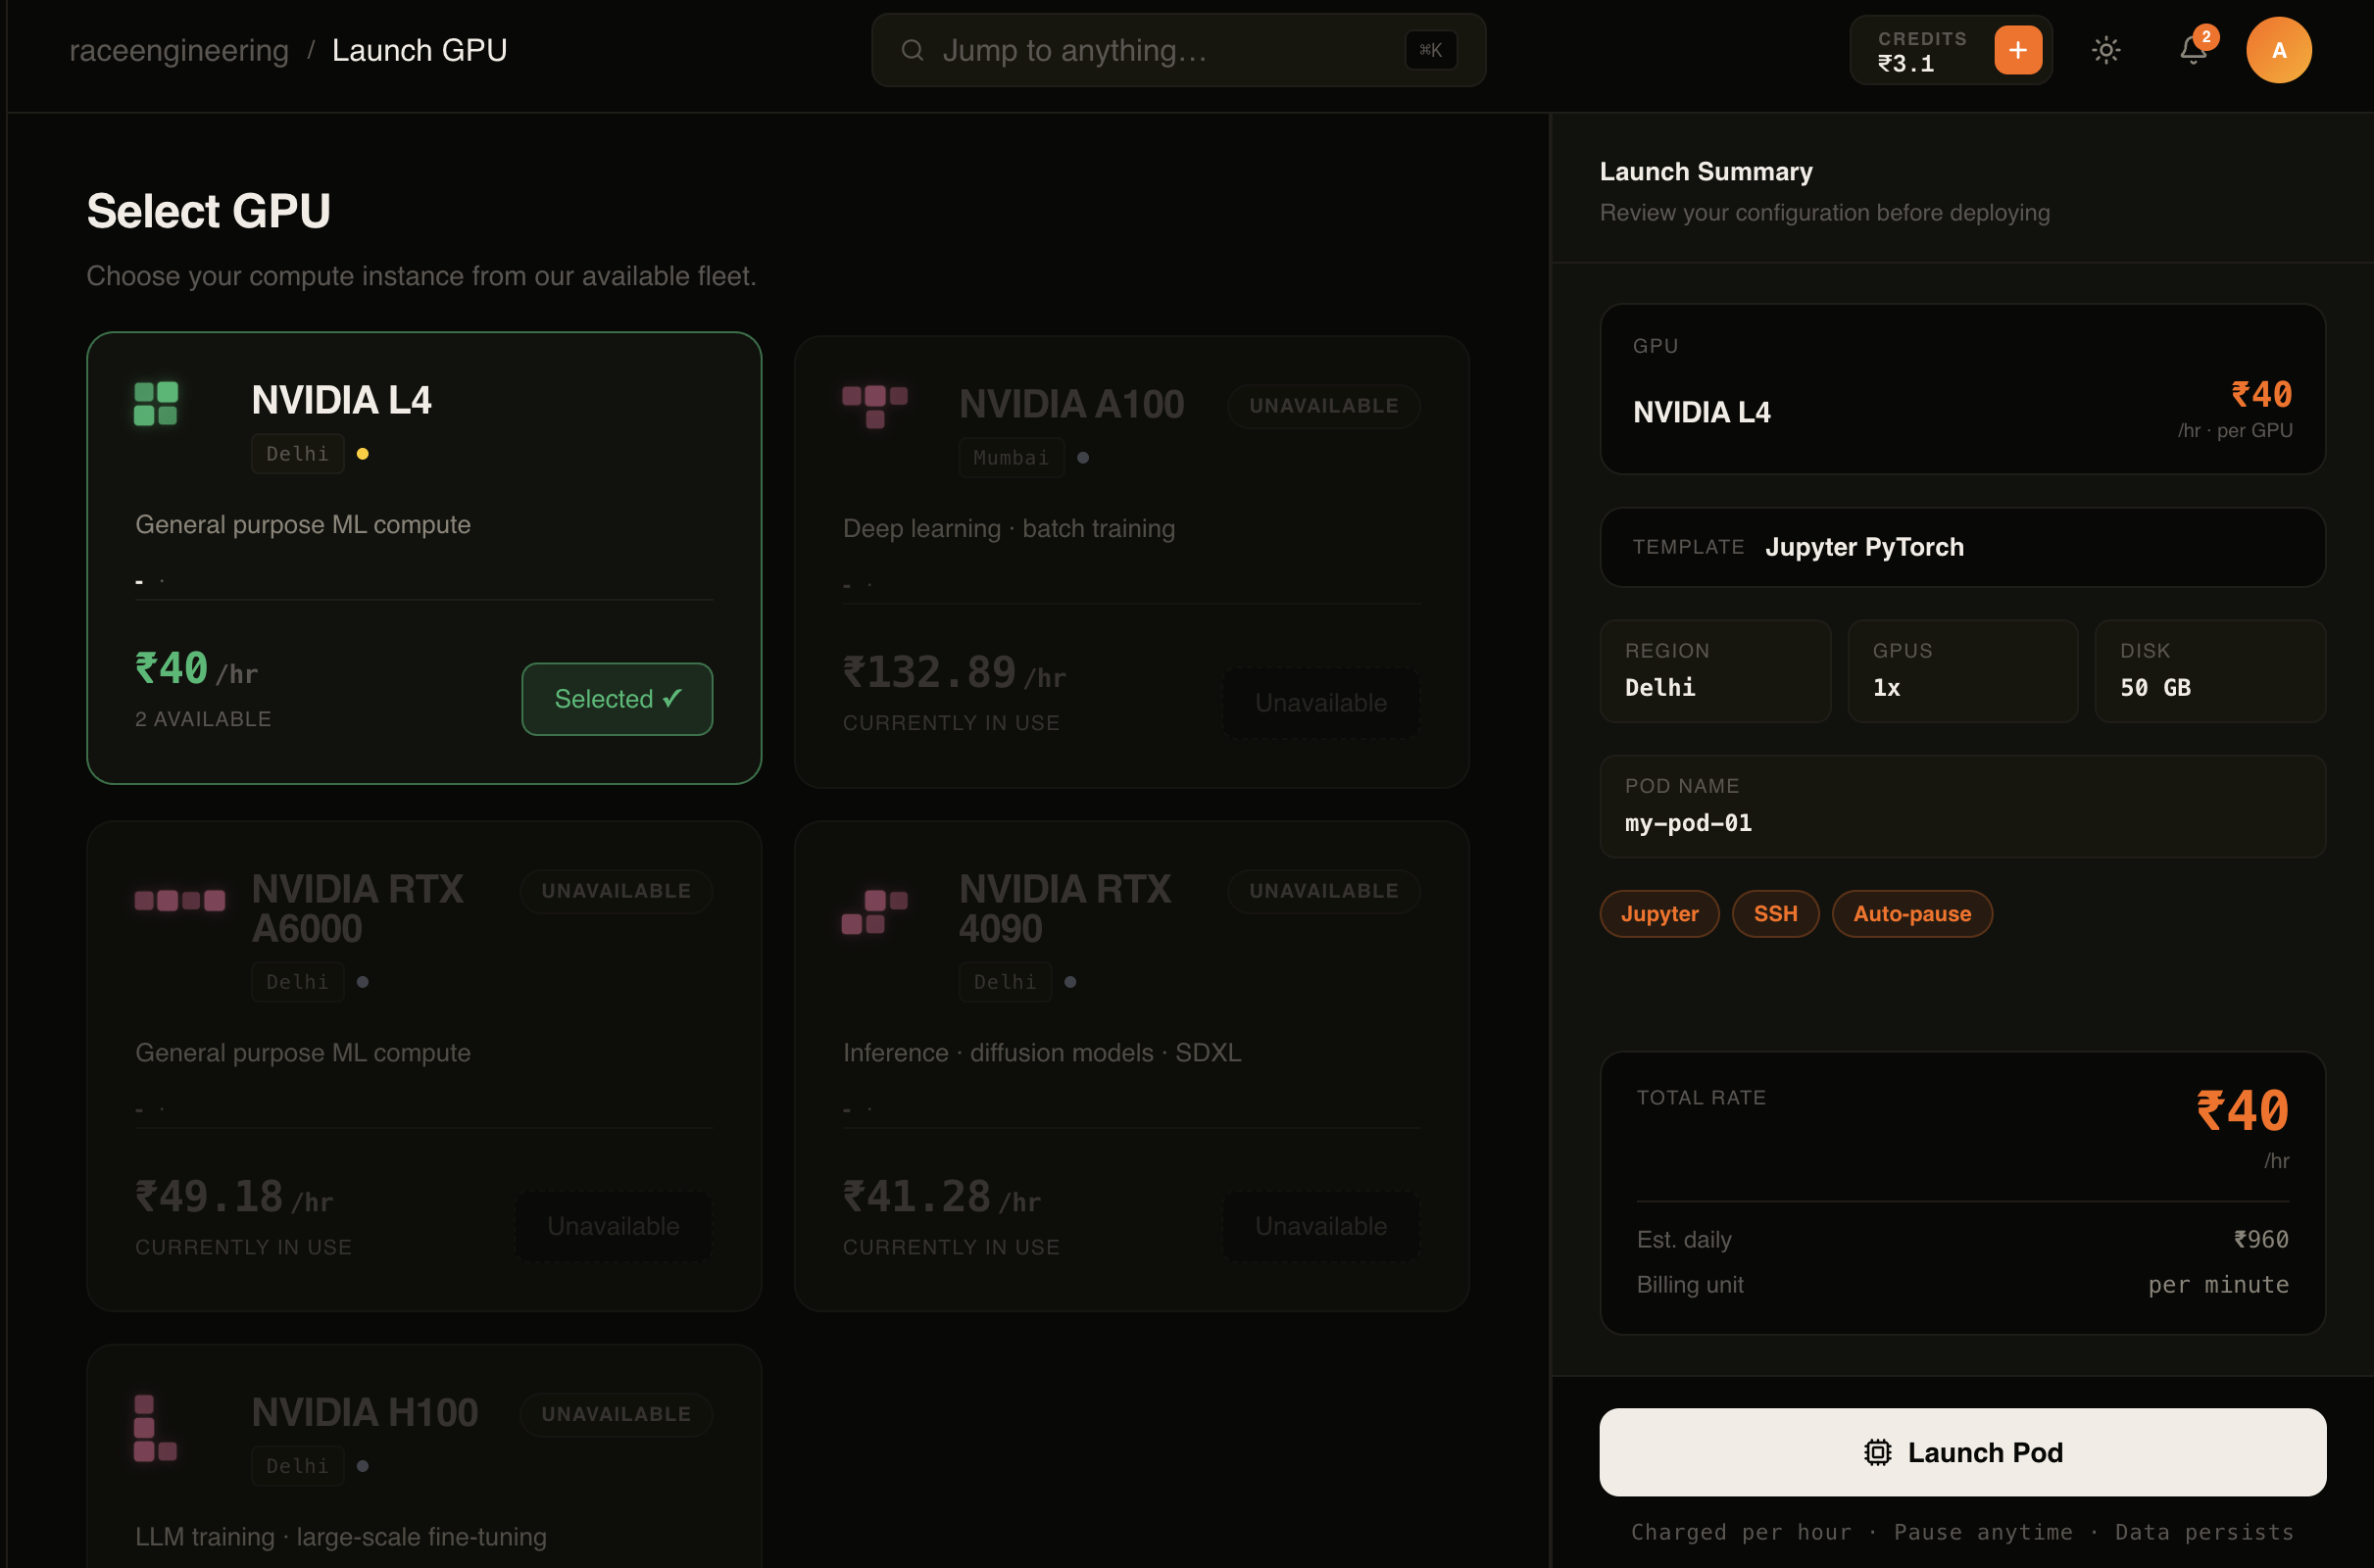
Click Launch GPU in the left sidebar. Select a GPU from the catalog — each card shows the model, VRAM, available units, and hourly rate. Choose a template (PyTorch, Stable Diffusion, ComfyUI, etc.), configure your pod name, disk size, GPU count, and toggle JupyterLab or SSH access. Review the Launch Summary panel on the right and click Launch Pod.
- Pick the GPU that matches your workload — H100 for training, RTX 4090 for inference
- Set Container Disk between 10 GB and 500 GB
- Enable JupyterLab for browser-based notebook access on port 8888
- Enable SSH access if you need terminal or file transfer access
- Pod is live within 2 minutes — you'll see it appear in Compute
Start & Stop Your Pod
All running pods appear in the Compute section of the dashboard. Each pod card shows its status (Running / Paused), uptime, hourly rate, and quick action buttons.
Pause — stops compute and releases the GPU so billing stops. Your workspace data is fully preserved.
Resume — re-attaches a GPU and restarts your container. All files in /workspace are intact. Note: the SSH port changes on every resume — check the Endpoints panel for the updated command.
- Pause when you're done for the day — no compute charges while paused
- Resume at any time — container state is preserved
- Use Auto-pause to prevent runaway billing during long idle periods
Terminate the Pod
Terminating permanently destroys the pod and deletes all data from /workspace. This action cannot be undone.
From the Compute page, click the Terminate button on the pod card. A confirmation dialog will ask you to type the pod name before proceeding. Once confirmed, billing stops immediately and the pod is removed from your dashboard.
- Always back up important files before terminating — save to /workspace or download via SCP
- Terminate only when you're certain you no longer need the pod or its data
- Terminating while the pod is running is allowed — compute charges stop instantly
- The pod disappears from Compute within a few seconds after confirmation
